
 Joel Challis
831deac212
Joel Challis
831deac212
|
1 month ago | |
|---|---|---|
| .. | ||
| keymaps/default | 4 months ago | |
| README.md | 1 year ago | |
| config.h | 4 months ago | |
| keyboard.json | 1 month ago | |
README.md
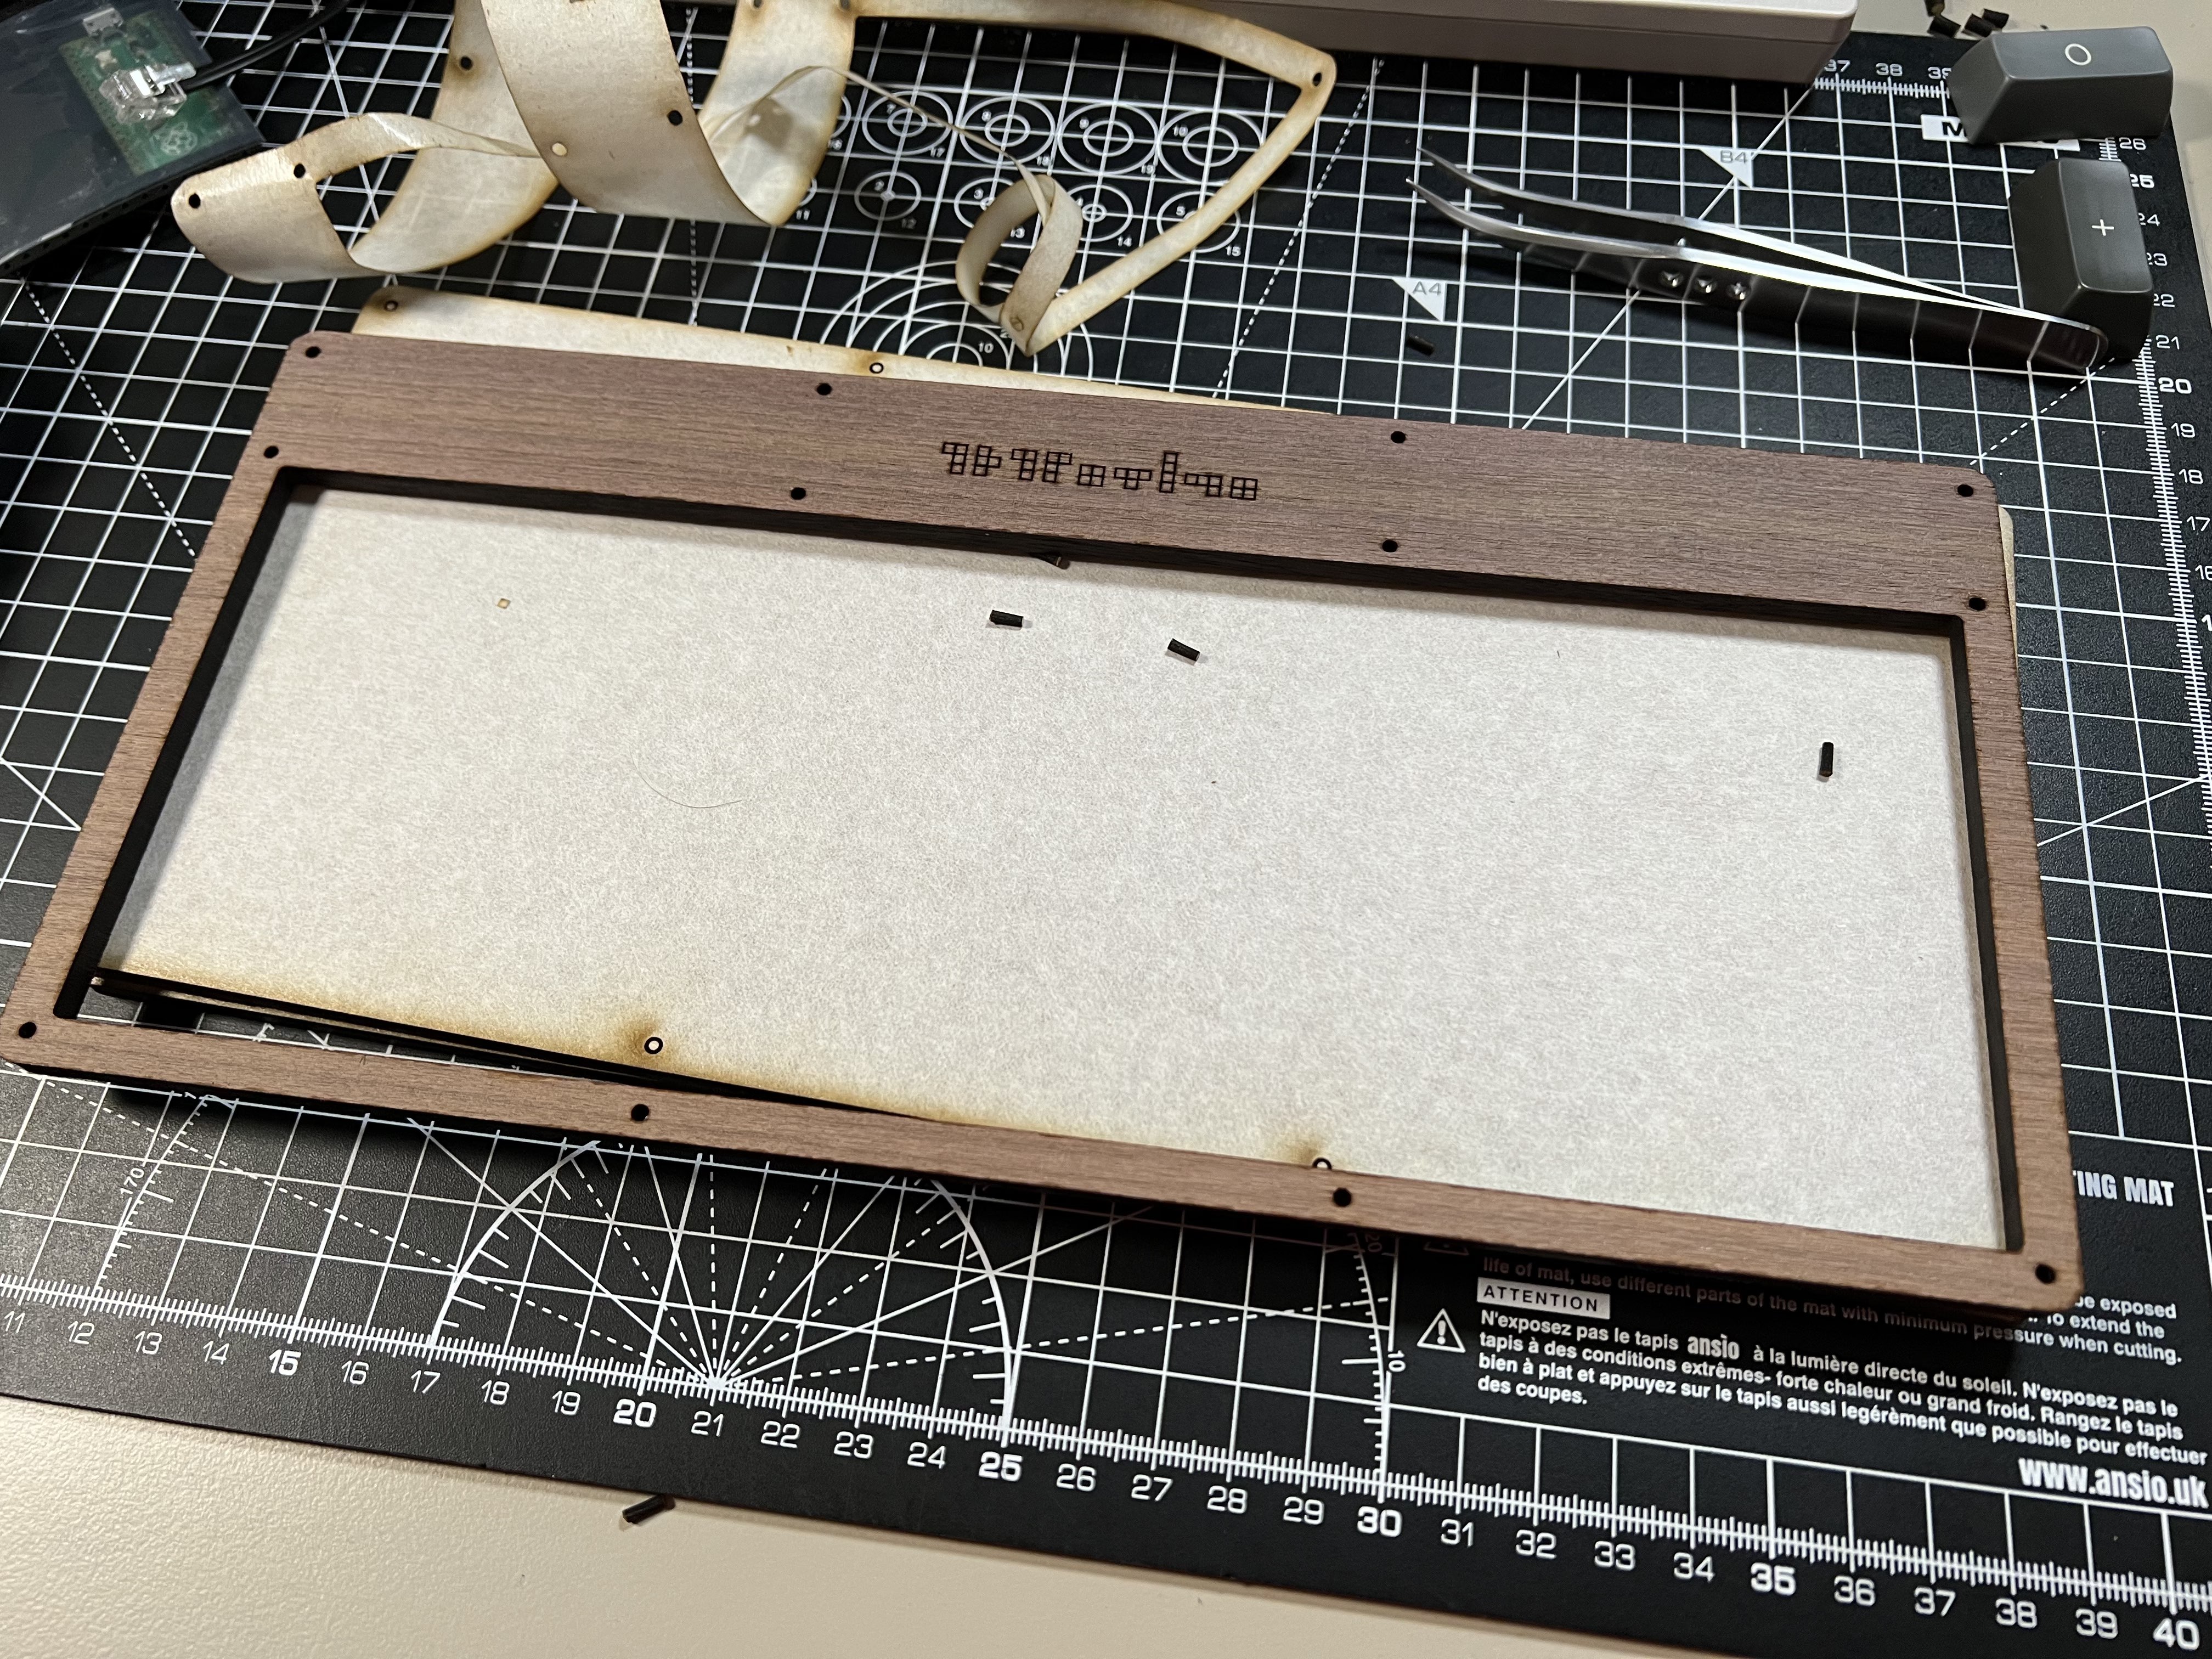
tetromino
- Keyboard Maintainer: an_achronism
- Hardware Availability: Currently in prototyping stage, so only via Discord
This project started for one reason alone: I suspected that I would hate typing on an ortholinear keyboard and wanted to find out if I was correct.
It ended up turning into something a little more interesting, at least from my perspective. Much of this was driven by my general dissatisfaction with how RGB LEDs tend to be used in keyboards. I'd been talking for quite some time about how I'd like to build RGB behaviours into my keyboards that had a purely functional purpose, rather than existing mostly to look cool. Specifically, I wanted to represent layer and lock statuses in a way I've never seen anybody else do. For instance, turning on Caps Lock would not switch on a single Caps Lock indicator LED, but rather light up all of the keys that would behave differently because of Caps Lock being switched on, meaning A-Z but nothing else. The other indicators (Num and Scroll Lock) would do something very similar. Activating a custom keymap layer would also light up only the keys that were mapped differently on that layer compared to the base layer.
I managed to implement a custom function to achieve exactly the desired RGB LED functionality, but for reasons that mostly have to do with following general QMK guidelines, this (relatively large) custom function is not included in the default keymap. If you want it, flash the "indicators" keymap instead.
Compiling the firmware
You'll first need to set up a build environment for QMK (see below). Once you've done that, you can run a make for the keymap of your choice.
The default keymap does NOT have my preferred custom RGB behaviour in it, in the interests of keeping with QMK repository's preference of keeping the default keymap as straightforward as possible (the custom RGB function is relatively large). If you don't care about having that, you can just do this:
make tetromino:default
If however you do want my custom RGB matrix behaviour, do this:
make tetromino:indicators
This will give you the RGB behaviour described in the section above.
See the build environment setup and the make instructions for more information. Brand new to QMK? Start with our Complete Newbs Guide.
Entering the bootloader
You'll need to do this to flash or reflash the firmware. You can enter the bootloader in a number of different ways:
- Physical reset button: If you have a reset button soldered on, and the keyboard is fully assembled, you should be able to reach into the hole in the underside of the case while the keyboard is connected and double-press the reset button (push it twice in quick succession). Only pressing it once will reset the microcontroller, but won't put it into bootloader mode.
- Physical BOOTSEL button: Regardless of whether you have a reset button soldered into place, there is a BOOTSEL button included onboard the Raspberry Pi Pico that hosts the microcontroller. With the keyboard disconnected, press and hold down the BOOTSEL button and connect the keyboard, then release BOOTSEL.
- Bootmagic reset: Hold down the top left key and plug in the keyboard (similar to the BOOTSEL method above).
- Keycode in layout: Press the key mapped to
QK_BOOTif it is available in your keymap.
Once that's done, you should see a USB mass storage device appear in your operating system pertaining to the RP2040's bootloader. This indicates that the MCU is ready to flash a firmware of your choice.
Flashing the firmware
The RP2040 MCU comes preflashed with a UF2 bootloader which, once activated by one of the methods above, allows the user to flash a firmware by simply dragging and dropping the firmware file into the USB mass storage device that appears in the OS. In this case, drag and drop the .uf2 file for your corresponding QMK firmware (compiled previously as per instructions above) into the relevant USB device and the firmware should flash, then the keyboard will immediately restart with the firmware on it, ready to use. Happy typing!