
 ploopyco
38d6e9a75a
ploopyco
38d6e9a75a
Added PloopyCo madromys/adept mouse Co-authored-by: Drashna Jaelre <drashna@live.com> |
5 months ago | |
|---|---|---|
| .. | ||
| keymaps | Add Ploopy Madromys mouse (#21989) | 5 months ago |
| rev1_001 | Add Ploopy Madromys mouse (#21989) | 5 months ago |
| config.h | Add Ploopy Madromys mouse (#21989) | 5 months ago |
| info.json | Add Ploopy Madromys mouse (#21989) | 5 months ago |
| madromys.c | Add Ploopy Madromys mouse (#21989) | 5 months ago |
| madromys.h | Add Ploopy Madromys mouse (#21989) | 5 months ago |
| readme.md | Add Ploopy Madromys mouse (#21989) | 5 months ago |
| rules.mk | Add Ploopy Madromys mouse (#21989) | 5 months ago |
readme.md
Ploopyco Madromys Trackball
It's a DIY, QMK-powered trackball!
Make example for this keyboard (after setting up your build environment):
qmk compile -kb ploopyco/madromys -km default
Building Firmware
See the build environment setup and the make instructions for more information. Brand new to QMK? Start with our Complete Newbs Guide.
Triggering the Bootloader
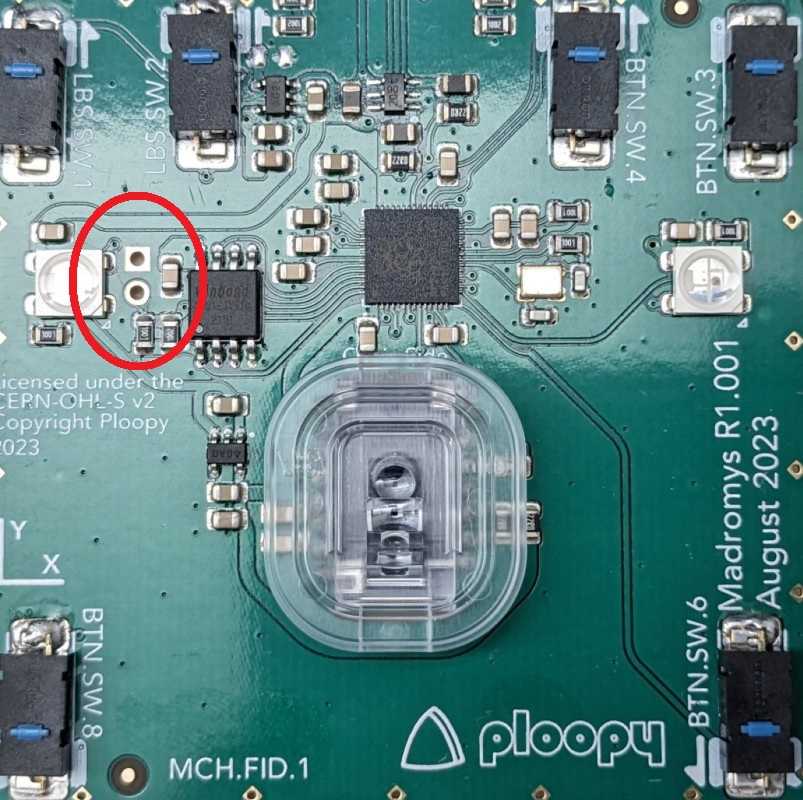
Do you see those two golden holes in the board? Those are called vias. They act exactly like a switch does. Right now, that switch is OFF. However, if you take a paperclip or a pair of metal tweezers and touch those two vias, the two vias will form an electrical connection. Effectively, that switch turns ON.
Go ahead and connect the two vias, and then (while the vias are connected) plug in the Madromys board into your computer.
The computer should recognise that a mass storage device was just plugged in. Once this is done, you should be able to drag and drop files onto the Madromys board, as if the board was a USB drive. Feel free to remove the tweezers or paperclip at this point.
If you want to upload a new firmware file (a ".uf2" file, like "madromys_awesome_version.uf2" or something), just drag it into the folder, and it'll automatically install on the Madromys board and restart itself, in normal operating mode. You're done!
TIP: If your firmware is in some kind of strange state and uploading new firmware isn't fixing it, try uploading a flash nuke to the Madromys board before flashing the new firmware. It wipes the memory of the Madromys board completely clean, which can help clear a few types of errors.
Drag Scroll
Drag Scroll is a custom keycode for Ploopy devices that allows you to hold or tap a button and have the mouse movement translate into scrolling instead.
Nothing needs to be enabled to use this functionality; it's enabled on Madromys by default.
Drag Scroll Configuration
#define PLOOPY_DRAGSCROLL_MOMENTARY- Makes the key into a momentary key, rather than a toggle.#define PLOOPY_DRAGSCROLL_MULTIPLIER 0.75- Sets the DPI multiplier to use when drag scroll is enabled.#define PLOOPY_DRAGSCROLL_FIXED- Normally, when activating Drag Scroll, it uses a fraction of the current DPI. You can define this to use a specific, set DPI rather than a fraction of the current DPI.#define PLOOPY_DRAGSCROLL_DPI 100- When the fixed DPI option is enabled, this sets the DPI to be used for Drag Scroll.
#define PLOOPY_DRAGSCROLL_INVERT- This reverses the direction that the scroll is performed.#define PLOOPY_DRAGSCROLL_SEMAPHORE- This is a divisor on the drag scroll sensitivity. The default is 0, which means that the drag scroll is at maximum sensitivity. A value of 4 would mean that the drag scroll is 4 times less sensitive.